
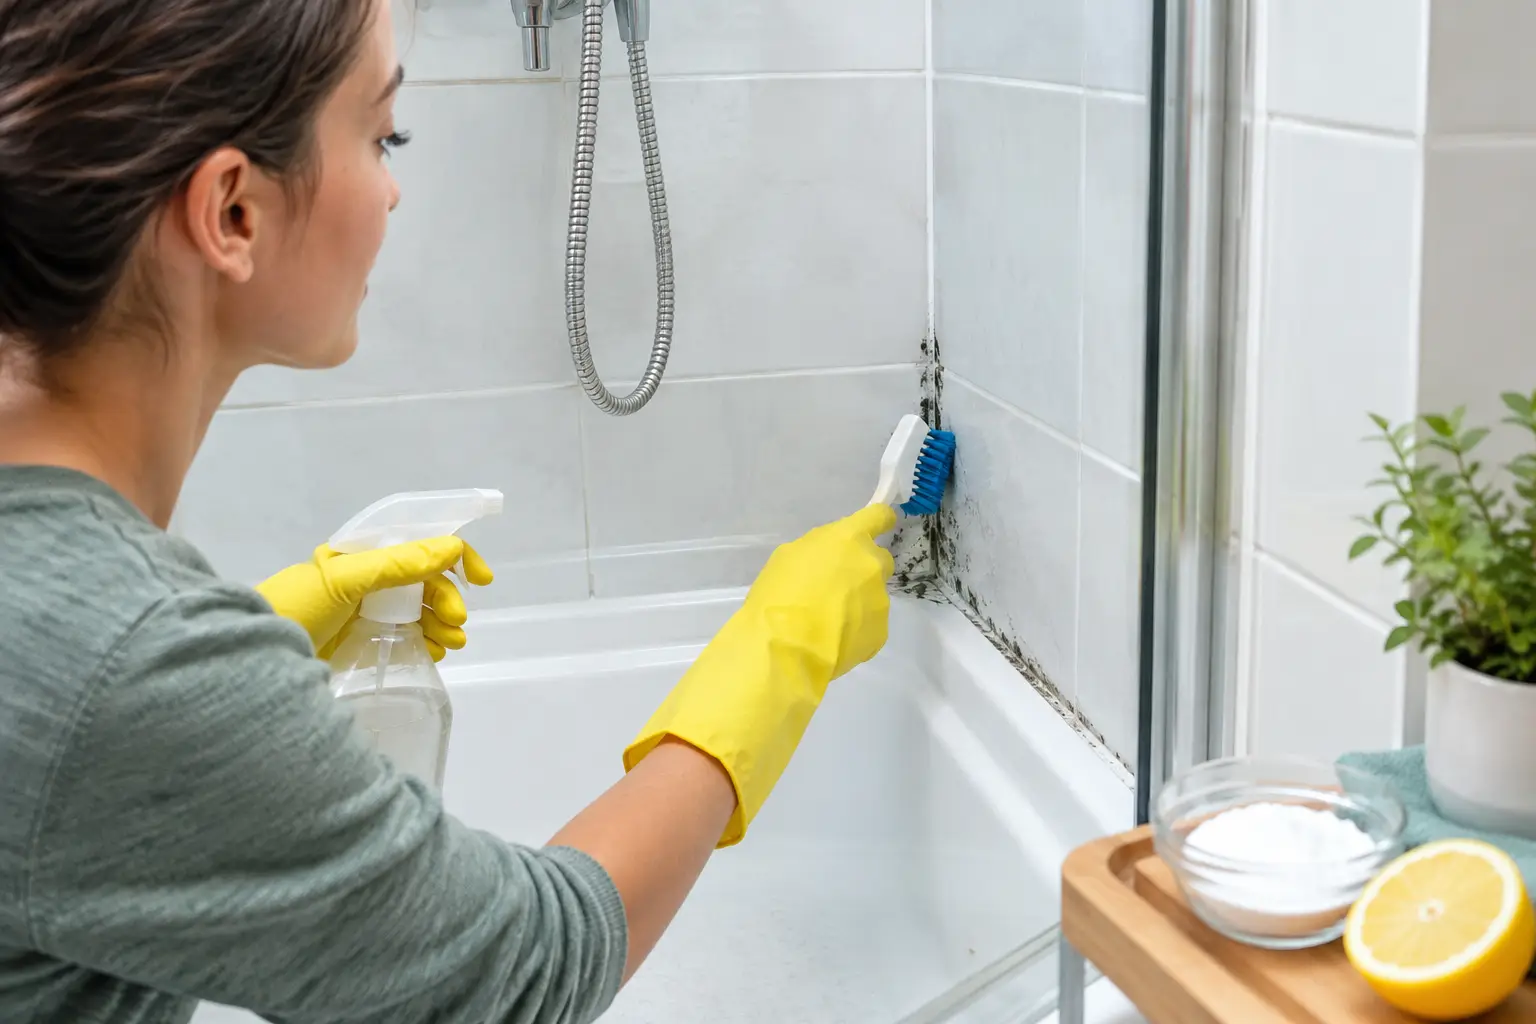
A few black dots around the silicone can turn into a full shower-cleaning job surprisingly fast. Auckland’s damp spells, busy family bathrooms and limited ventilation all give mould the moisture it needs. Knowing how to clean mouldy showers properly means removing the visible growth, treating the spots where it hides, and changing the conditions that bring it back.
The good news is that most shower mould can be dealt with using simple products, patient contact time and regular drying. There is no need to fill the bathroom with overpowering fumes or scrub so hard that you damage grout, glass or sealant.
Why mould keeps returning in showers
Mould feeds on moisture and the residue left behind by soap, body oils and shampoo. Grout, silicone and the lower edges of shower screens are especially vulnerable because they stay wet after everyone has finished showering. A closed bathroom door, a weak extractor fan or towels drying indoors can keep humidity high for hours.
It is also worth checking whether you are dealing with surface mould or a bigger moisture issue. Light spotting on silicone or grout is common and usually manageable at home. Mould that keeps returning within days, appears beyond the shower, or is paired with peeling paint, swollen wall linings or a musty smell may point to a leak or poor ventilation. Cleaning is still useful, but the underlying problem needs attention too.
Prepare the bathroom before you start
Open a window and run the extractor fan if you have one. Put on gloves, and consider a mask if you are sensitive to dust, fragrances or cleaning products. Keep children and pets out of the bathroom until the surfaces are rinsed and dry.
Remove shampoo bottles, bath toys, razors and soap dishes from the shower. They often have a film underneath that transfers straight back onto freshly cleaned surfaces. Rinse the shower with warm water first to loosen soap scum, then wipe away loose hair and residue with a cloth.
Choose one cleaning product at a time. This matters: never mix bleach with vinegar, ammonia, toilet cleaner or any other product. The combination can release dangerous fumes. If you switch products, rinse the area thoroughly and allow it to dry first.
How to clean mouldy showers step by step
Start with a gentle wash
Use a biodegradable bathroom cleaner or a small amount of washing-up liquid in warm water to clean the entire shower. Work from the top of the tiles down, paying attention to corners, the shower tray and the base of the screen. This first wash removes the greasy layer that can stop mould treatments reaching the surface.
A non-scratch sponge or soft brush is usually enough for tiles and glass. Avoid steel wool and harsh scouring pads, which can scratch shower screens and create tiny rough areas where grime clings more easily.
Treat grout with a paste and a brush
For mould in tile grout, make a thick paste of bicarbonate of soda and water. Apply it directly to the affected lines and leave it for around 15 minutes. Then scrub gently with a grout brush or an old toothbrush before rinsing well.
If staining remains, use a bathroom mould remover that is suitable for your grout and follow the label directions exactly. Some products need time to work, while others should not sit on surfaces for long. Test a small, hidden area first, particularly on coloured grout, natural stone or older tiles.
Grout can stay discoloured even after mould has been removed. If the surface is clean but the colour does not lift, that is often staining rather than active mould. Repeated aggressive scrubbing can wear grout away, so it is better to clean carefully and consider resealing it once it is fully dry.
Clean silicone carefully
Silicone sealant is a common trouble spot because mould can settle into its surface. Apply your chosen mould cleaner to the affected silicone and allow the recommended dwell time. Wipe with a soft cloth or gently work along the sealant with a soft brush, then rinse thoroughly.
If black marks remain inside the silicone rather than on top of it, cleaning may only improve the appearance. Old or damaged sealant can hold mould beneath the surface, especially around a shower tray or screen. In that case, replacing the silicone is the more reliable fix. It also gives you a chance to check for gaps that could let water behind the wall.
Finish the glass, frame and drain area
Use your gentle bathroom cleaner on shower glass and frames, then rinse and dry with a microfibre cloth or squeegee. Do not forget the bottom track of a sliding screen. This narrow channel collects soap residue, hair and standing water, which makes it an easy place for mould to start.
Lift out any removable drain cover and clear away hair and grime. A slow drain leaves water sitting in the shower longer, increasing humidity and allowing residue to build up. If water is consistently slow to drain, it may need more than a surface clean.
When stronger products are the right choice
Chlorine bleach can lighten stubborn mould marks on non-porous white surfaces, but it has trade-offs. Its fumes can be unpleasant in a small bathroom, it may discolour fabrics and coloured grout, and it is not suitable for every material. Good ventilation, gloves and strict label directions are essential.
For many regular cleans, an eco-friendly mould or bathroom product is the more comfortable choice, especially in homes with children, pets or people sensitive to strong scents. It may take a little longer and require a second application, but consistent cleaning and drying are what make the biggest difference over time.
Never assume a stronger product is better. Natural stone, painted surfaces, aluminium frames and specialty shower coatings can be damaged by acidic or bleach-based cleaners. Check the manufacturer’s care advice where possible, and patch-test first.
Stop shower mould from coming back
The most effective prevention happens in the two minutes after a shower. Use a squeegee on the glass and tiles, rinse away thick soap residue, and leave the shower door or curtain open so air can circulate. Run the extractor fan during showers and for at least 15 to 20 minutes afterwards, or open a window when weather and privacy allow.
Wash shower curtains and bath mats regularly, and avoid leaving wet flannels, clothes or towels piled in the bathroom. Give bottles and soap holders a quick wipe before putting them back. These small habits reduce the moisture and residue that mould relies on.
A weekly wipe-down is usually enough for a well-ventilated shower. Homes with several occupants, no opening window or a bathroom that gets little sun may need a more frequent routine. If you are renting, regular cleaning also helps protect grout, silicone and shower screens from becoming a move-out issue later.
Know when to bring in help
A professional clean can save time when mould has spread through multiple bathrooms, settled deeply into shower tracks, or built up alongside heavy soap scum and hard-water marks. It is also a practical option before an inspection, property handover or end-of-tenancy clean.
If mould returns quickly after thorough cleaning, ask a qualified tradesperson to investigate leaks, failing sealant, drainage problems or inadequate extraction. Cleaning restores the sparkle, but moisture control is what protects the bathroom for the long term.
A dry shower is a cleaner shower. Give it a quick wipe after use, deal with new spots early, and your bathroom will stay fresher with far less effort.