
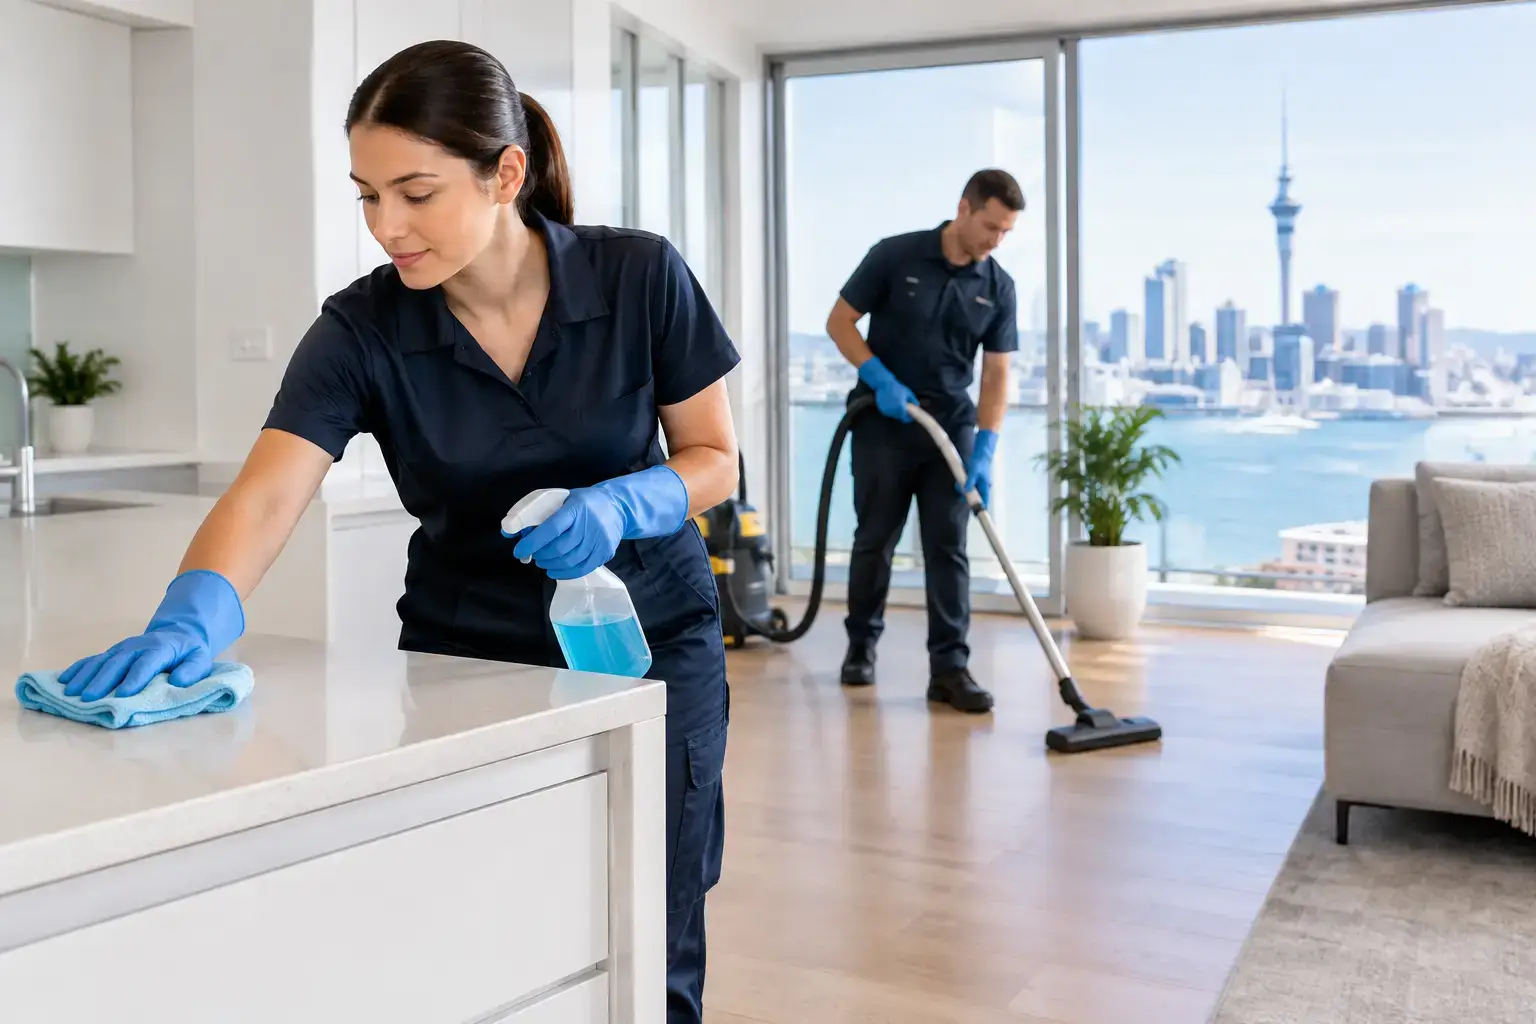
A final inspection can turn on the details people miss in a rushed clean: dust on the extractor fan, crumbs caught in cupboard runners, soap marks on shower glass, or a stain that looked small until the room was empty. These rental cleaning examples show what a genuinely thorough move-out clean looks like, room by room, so Auckland tenants, landlords and property managers can prepare with confidence.
A rental property does not need to look brand new after every tenancy. Fair wear and tear is different from dirt, damage and neglect. But it should be handed back clean, tidy and ready for the next occupant. The right scope depends on the property’s condition, the length of the tenancy, whether pets were present, and what is recorded in the entry inspection report.
Rental cleaning examples by area
The most useful way to plan a rental clean is to think beyond a quick surface wipe. A good result covers visible surfaces, high-touch points, hidden edges and the fittings that collect grime over time.
Kitchen: clean enough to inspect closely
The kitchen is often the deciding room at handover because grease and food residue build up gradually. A strong rental clean starts by emptying cupboards and drawers, vacuuming out crumbs, and wiping the inside and outside of each surface. Pay attention to handles, hinges, splashbacks and the top edges of cabinetry.
For the oven, an example of a complete clean includes degreasing the door glass, racks, trays, interior walls and the area around the seals. The cooktop should be free of burnt-on food and grease, while the rangehood filters need checking for sticky residue. The fridge and freezer should be empty, defrosted where needed, wiped out and left switched off only if the property manager has requested it.
Do not forget the sink. Limescale around taps, food in the drain basket and water marks on stainless steel can make an otherwise tidy kitchen feel unfinished. Biodegradable products can deal with everyday grime effectively, although heavily baked-on oven grease may need more time and specialist treatment.
Bathroom and laundry: remove soap, scale and moisture marks
Bathrooms need more than a spray-and-wipe. A proper example includes cleaning and disinfecting the toilet, basin, bath or shower, taps, mirror, vanity, exhaust fan cover and floor. Shower glass should be free from soap scum where possible, while tiles and grout should be assessed for mould, staining and built-up residue.
Mould is worth handling early. Light surface mould can often be treated during a detailed clean, particularly around silicone, window frames and ventilation points. Deep staining, failed silicone or ongoing dampness may be a maintenance issue rather than a cleaning issue. Photograph the area and raise it with the property manager instead of trying to hide it.
In the laundry, wipe down the tub, taps, bench, cupboards and floor. Clean lint from the dryer filter if one is supplied, and check behind appliances if they can be moved safely. A forgotten sock, dust pile or detergent spill behind the washing machine is a common final-inspection find.
Bedrooms and living areas: work from top to bottom
Start high, then finish at floor level. Dust ceiling fans, light fittings, vents, skirting boards, window sills and door frames before vacuuming. This avoids dropping dust onto a freshly cleaned carpet.
A complete bedroom clean includes empty wardrobes, shelves and drawers, then wiping them inside and out. Mirrors, tracks and blinds also deserve attention. For living rooms, clean fingerprints from switches, marks from walls where appropriate, and dust from ledges, heat pumps and accessible vents.
Walls require judgement. Small scuffs may lift with a gentle clean, but aggressive scrubbing can remove paint and create a larger issue. If marks are widespread, or paint has been damaged, speak with the owner or manager before attempting touch-ups. Cleaning should improve presentation, not create repair work.
Floors and carpets: match the method to the surface
Hard floors should be vacuumed first and then mopped with a suitable product. Corners, edges and the space under furniture are where dust tends to collect. Avoid soaking timber or laminate flooring, as excess water can cause swelling or damage.
For carpets, vacuum slowly in more than one direction, including wardrobe floors and room edges. Rental carpet cleaning examples often involve spot treatment for spills, pet accidents or tracked-in dirt, followed by professional hot-water extraction where the carpet needs a deeper refresh. Whether this is required depends on the tenancy agreement, the property’s condition at move-in, and the type of staining present.
Professional carpet cleaning can be particularly useful after a long tenancy, for homes with pets, or when there is a visible odour. It is not a substitute for repairs, though. Burns, bleach marks and torn fibres are damage, not cleaning issues.
Windows, entrances and outdoor spaces
Clean windows can change the first impression of a property, especially in Auckland’s changeable weather. Wipe internal glass, frames, sills and tracks, then remove cobwebs around entries and exterior lights. Exterior window cleaning may need professional equipment where access is unsafe.
At the entrance, sweep the porch, clean the front door and remove rubbish from letterboxes or storage areas. If the tenancy includes a courtyard, deck, balcony or garden, remove personal items and green waste, sweep hard surfaces and return lawns or garden beds to the agreed standard. Overgrown hedges, neglected lawns and blocked gutters can become bigger jobs, so flag them early rather than leaving them for moving day.
What a move-out clean does not usually cover
A thorough clean should make the property presentable and hygienic, but it cannot correct every issue. Understanding the difference helps avoid frustration at inspection.
Cleaning generally addresses dust, grease, soap scum, fingerprints, food residue, rubbish, light surface marks and everyday grime. Repairs are different: cracked tiles, broken blinds, damaged flyscreens, holes in walls, faulty appliances and water damage need a separate conversation. Likewise, normal ageing of paint, worn carpet paths or faded curtains may be fair wear and tear rather than something a tenant is expected to restore.
If you are unsure, compare the property to the condition report and any photos taken at the beginning of the tenancy. Take clear, dated photos once your clean is complete. They provide a useful record of the condition in which you returned the home.
A practical order for moving day
Trying to clean while boxes are still everywhere wastes time. Move your belongings out first, then take rubbish away before starting the detailed work. Begin with cupboards, high dusting and appliances, then clean bathrooms, bedrooms and living areas. Leave vacuuming and mopping until last so floors stay fresh.
Check every room before handing over keys. Open cupboards and wardrobes, look behind doors, inspect the oven, and stand at the entrance for a final view. This simple walkthrough catches the small jobs that are easy to overlook when you are tired.
For a larger home, a tight move-out date or a property that needs carpet, oven and exterior work, bringing in a professional team can save a long weekend of stress. EcoSparks can coordinate detailed end-of-tenancy cleaning with carpet cleaning, rubbish removal and outdoor care, using eco-friendly products and trusted local professionals.
A clean handover is not about chasing perfection that the property never had. It is about leaving each space cared for, documenting the result, and giving the next inspection every reason to go smoothly.